
Photo guidelines
Good photos show customers what they can do in your space, what's there, and how it feels.
- JPG, PNG or WebP
- Up to 10 MB per photo
- 3 to 9 photos, 6 or more is best
- Landscape
What to shoot
The three that matter most
- 1
Cover: the whole space
The main room with its main setup in view, so customers see its size and depth at a glance.
- 2
Your main instrument or gear
Set up and ready to play, with enough room around it to show how it's used. Not in its case.
- 3
More gear and amenities
Close enough to recognize, and only what a booking includes.
Nice to have
Atmosphere
The room in the light customers will have, without heavy filters or effects.
A second angle
Shows depth, seating and layout. Not a near-copy of the cover.
What sets you apart
A feature customers will actually use, like a vintage console or a high ceiling.
The way in
Helps customers find you. Leave out door codes, keys and private areas.
The performance area
The stage, recording position or audience view, if you have one.
Does the room have more than one use? Show each layout, for example rehearsal, recording and concert.
How to shoot
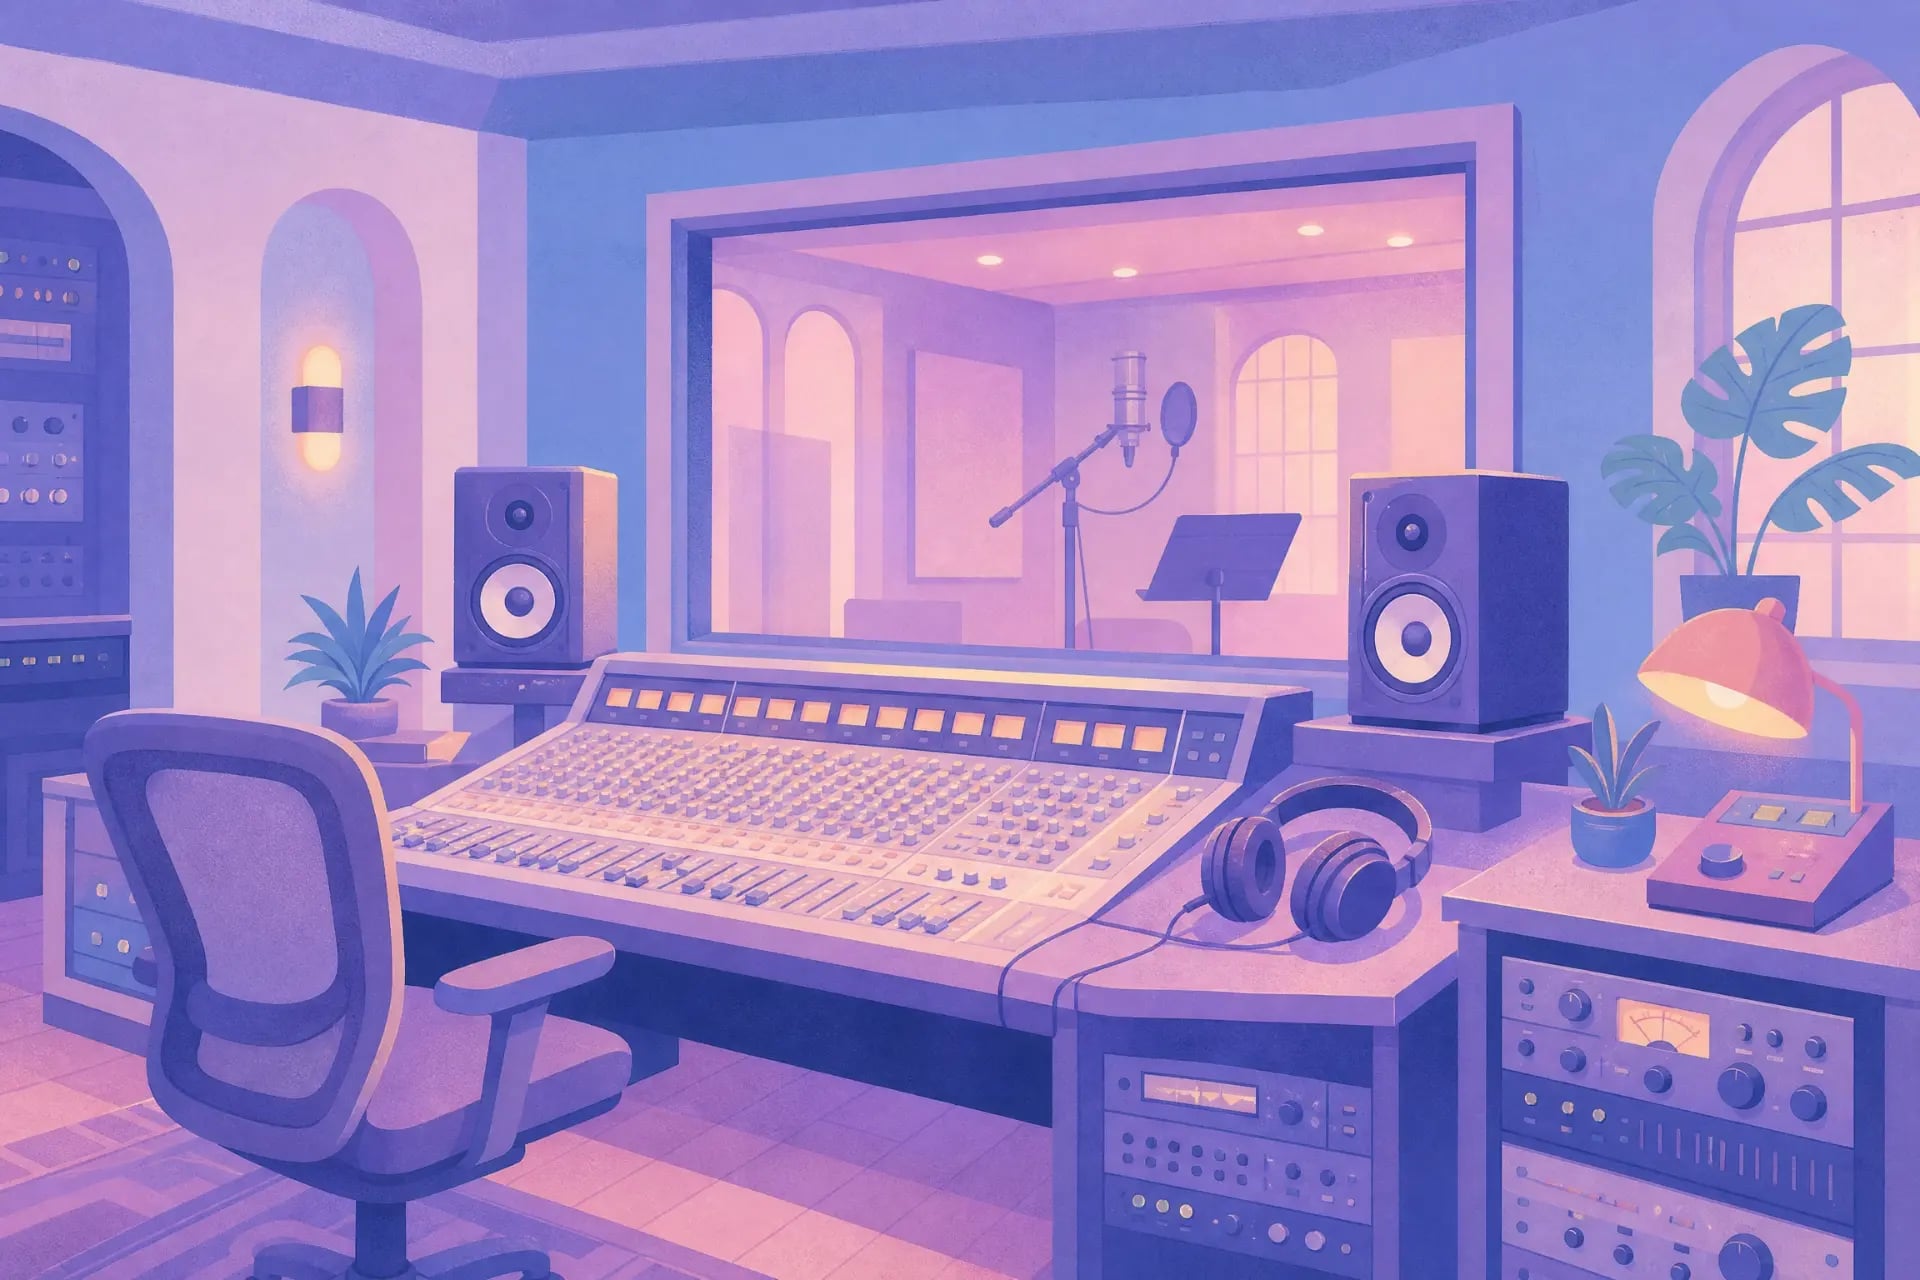
Keep it level
Straight vertical lines make the room feel solid and real.
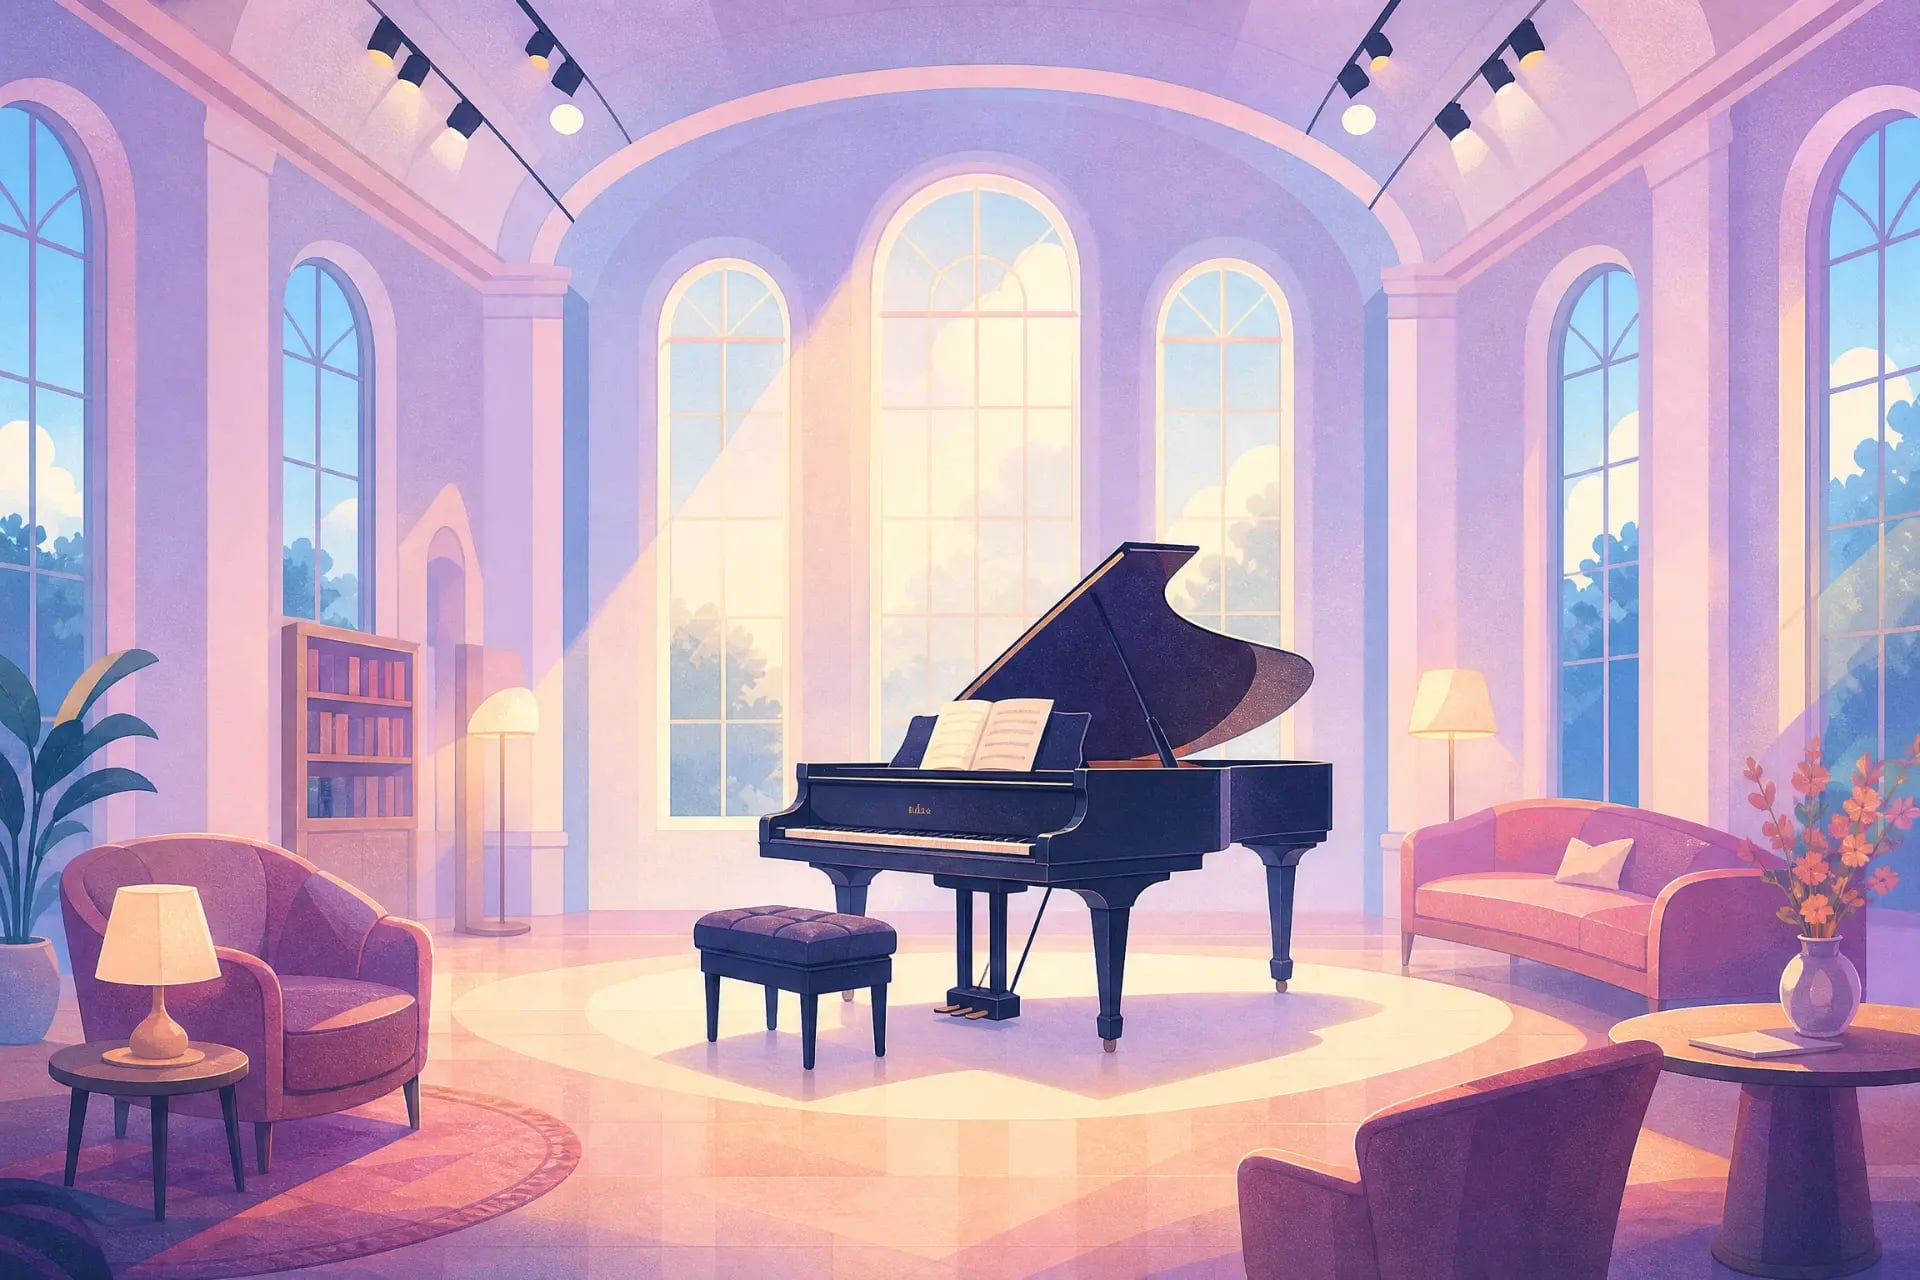
Use the real light
Colors as customers will see them when they arrive.
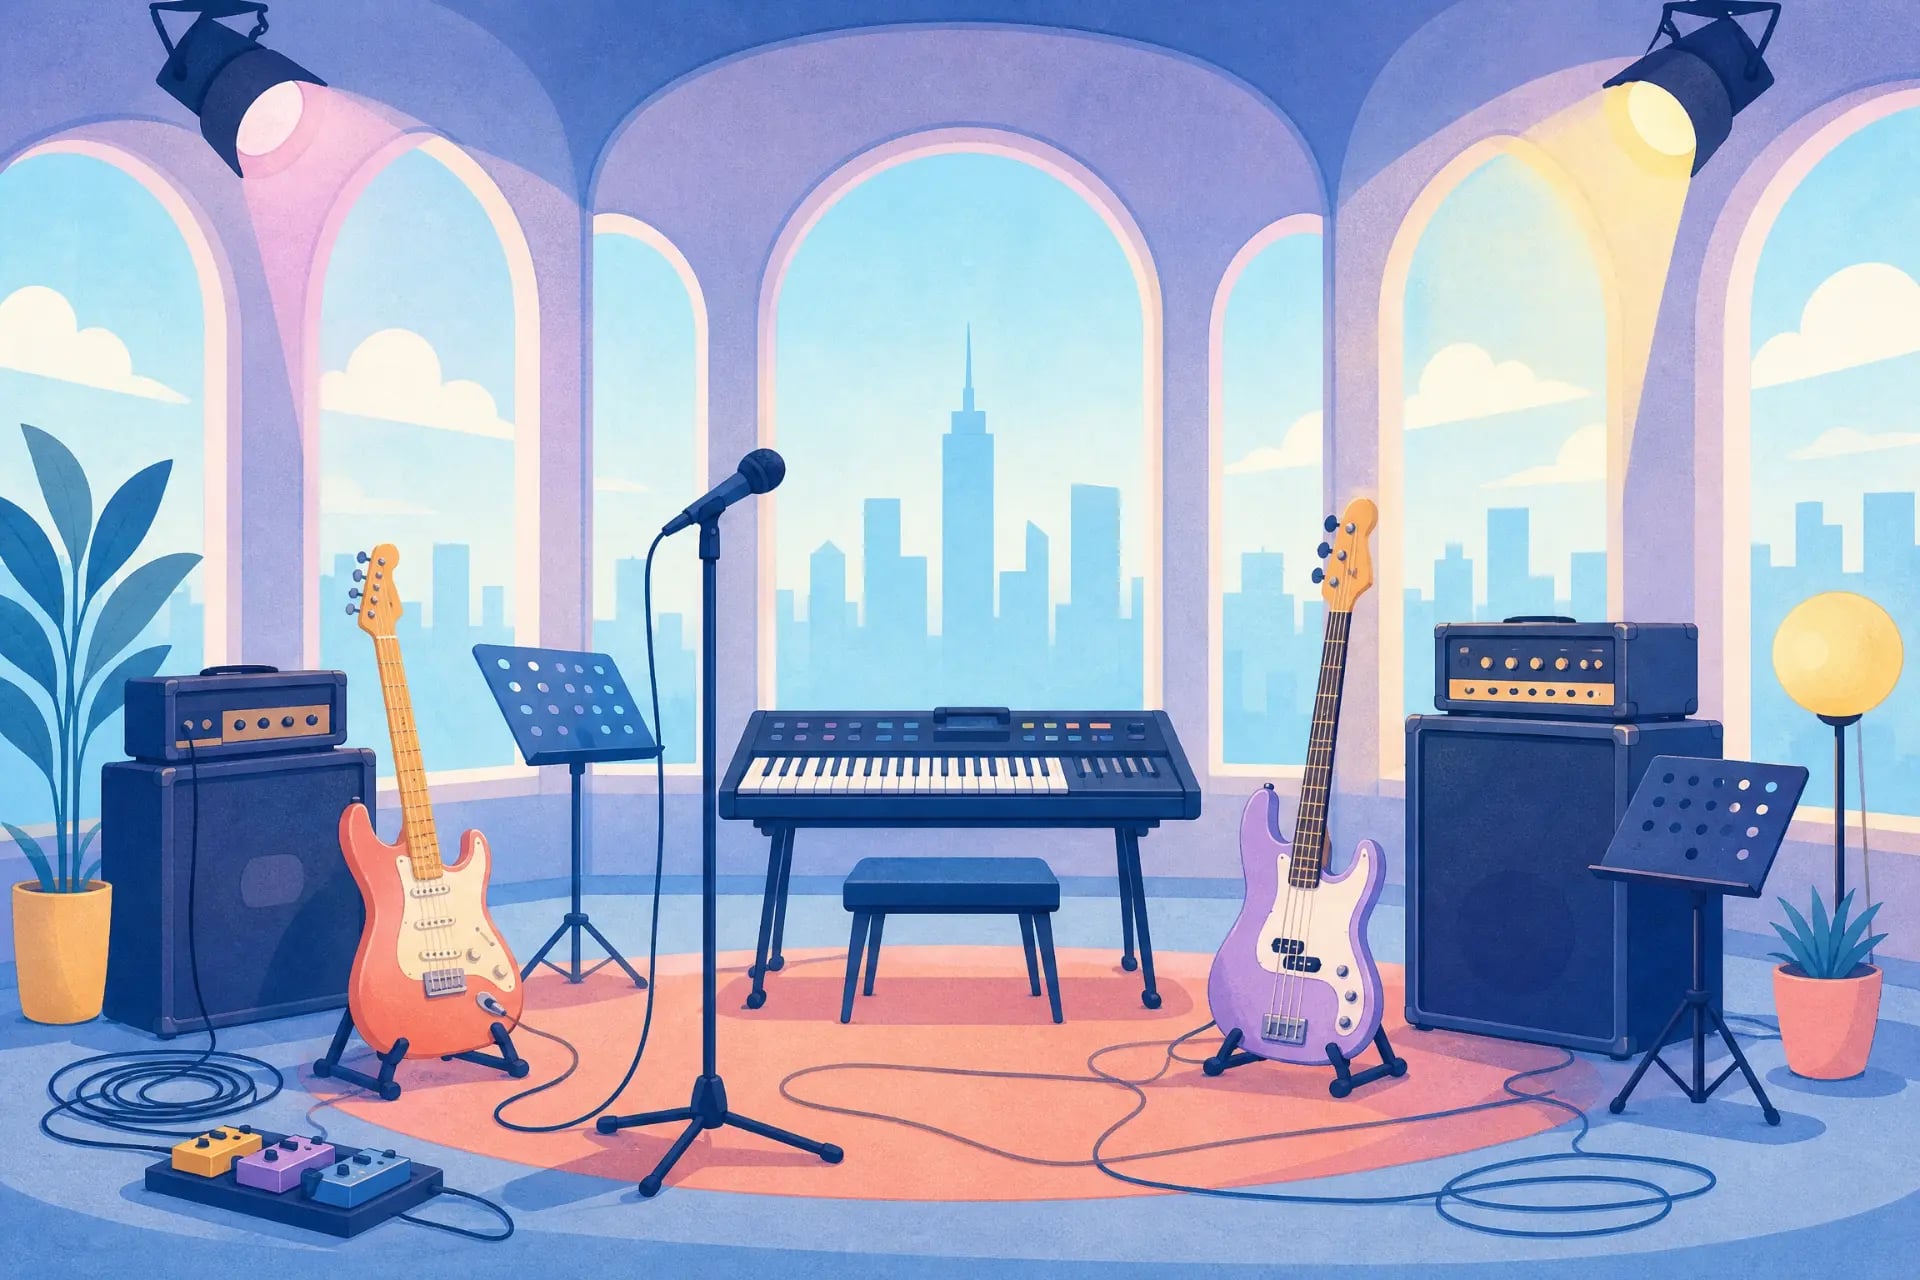
Step back
The whole room, with its depth and layout.
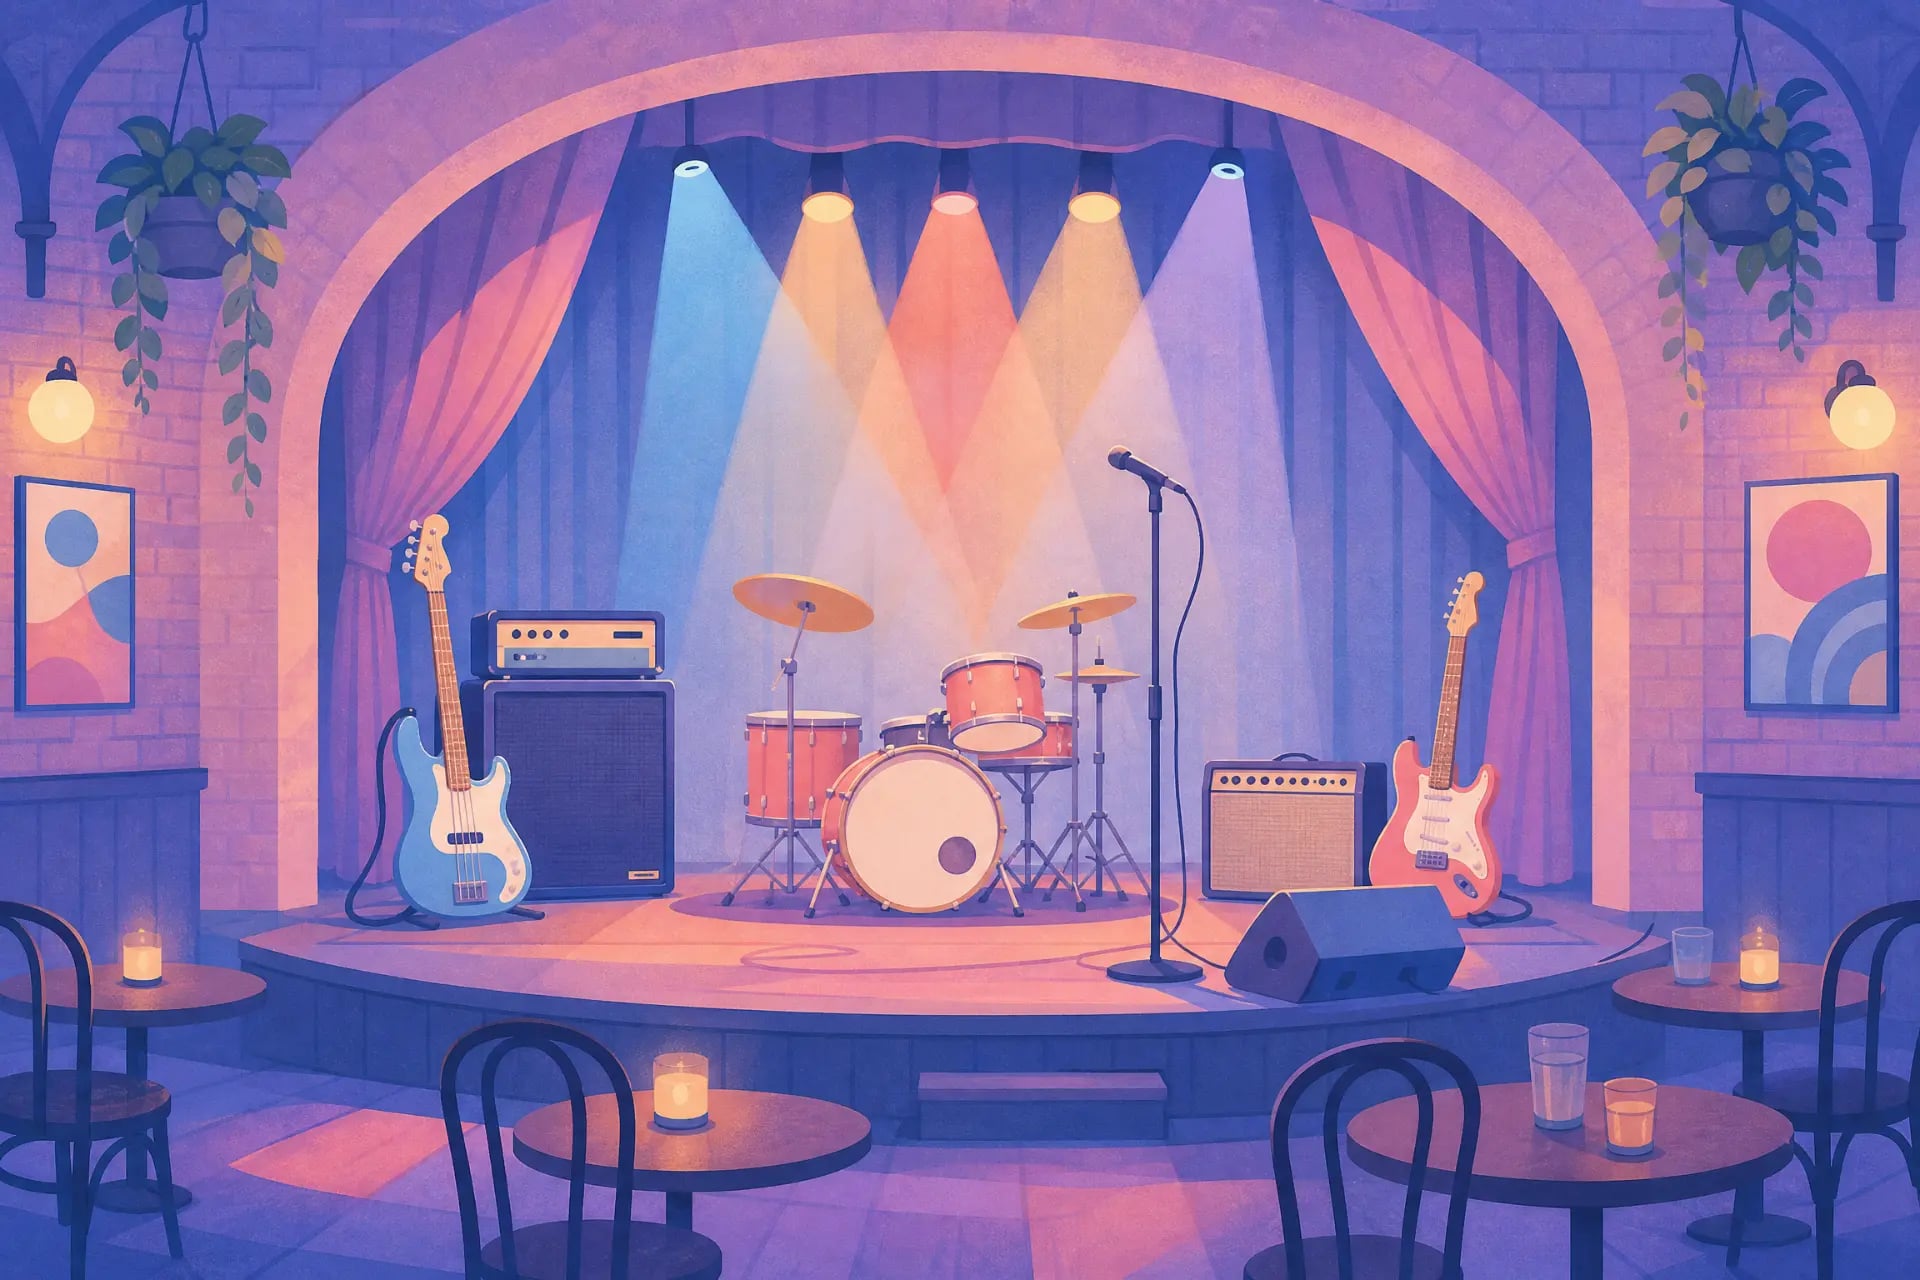
Shoot landscape
A wide frame shows the full width of the room.
- Tidy up and set the room as customers will find it: no rubbish, packaging or loose cables.
- Shoot in landscape and keep vertical lines straight. Step back instead of using an extreme wide angle.
- Use the room's real light, such as daylight, lamps or stage lights. Never use the flash.
- Keep every photo sharp, well exposed and edited in the same style.
- Leave out anyone who can be recognized, unless they agreed to be in the photo.